
Dr. Kim describes his stepwise approach to handling a displaced crystalline lens and shares pearls for achieving an optimal outcome.
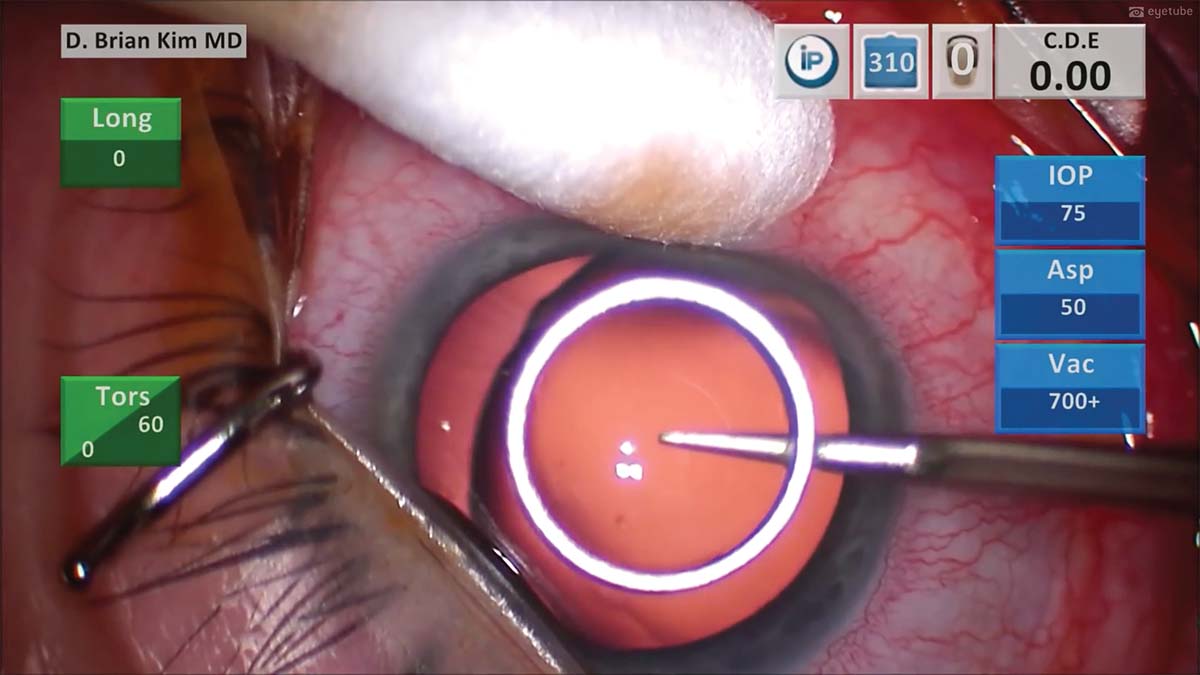
1. The central cornea is marked with a 6-mm corneal ring to help guide the sizing of the capsulorhexis.
2. A cystotome is used to perform a sharp puncture technique of the anterior capsule to minimize zonular stress.
3. The capsulorhexis appears to be decentered toward the right, but it is correctly centered over the capsular bag. The capsulorhexis diameter size is planned for less than 6 mm to provide adequate anterior capsular rim support for a capsular tension ring (CTR) and sutured capsular tension segment (CTS).
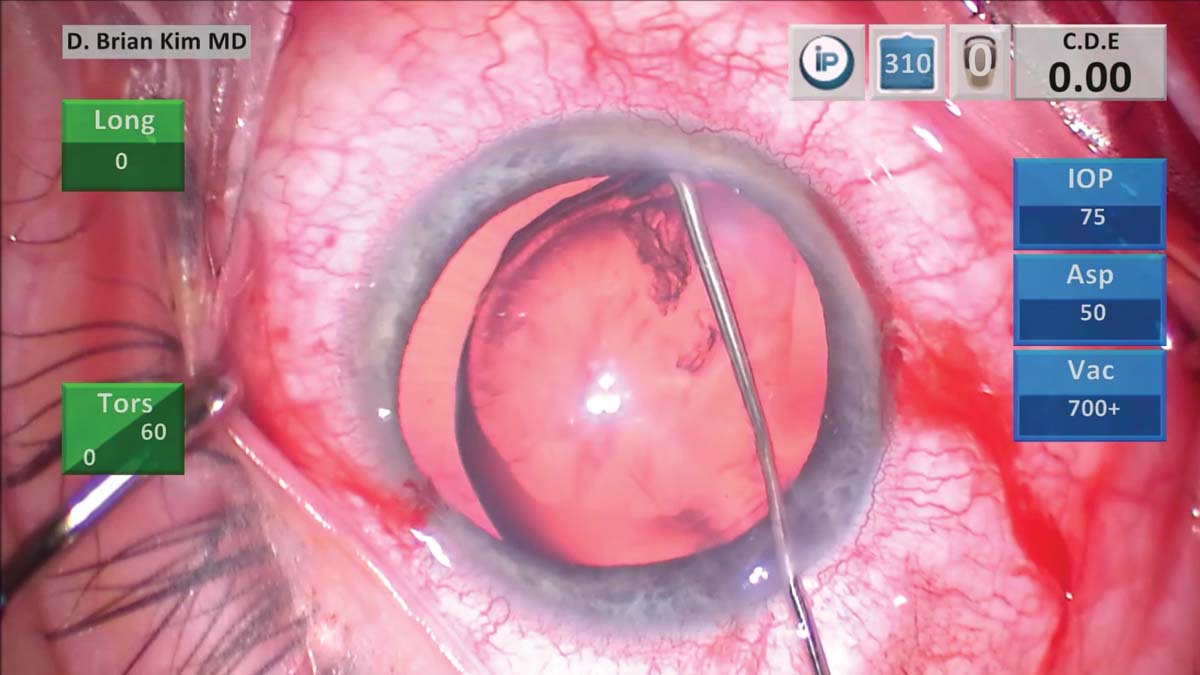
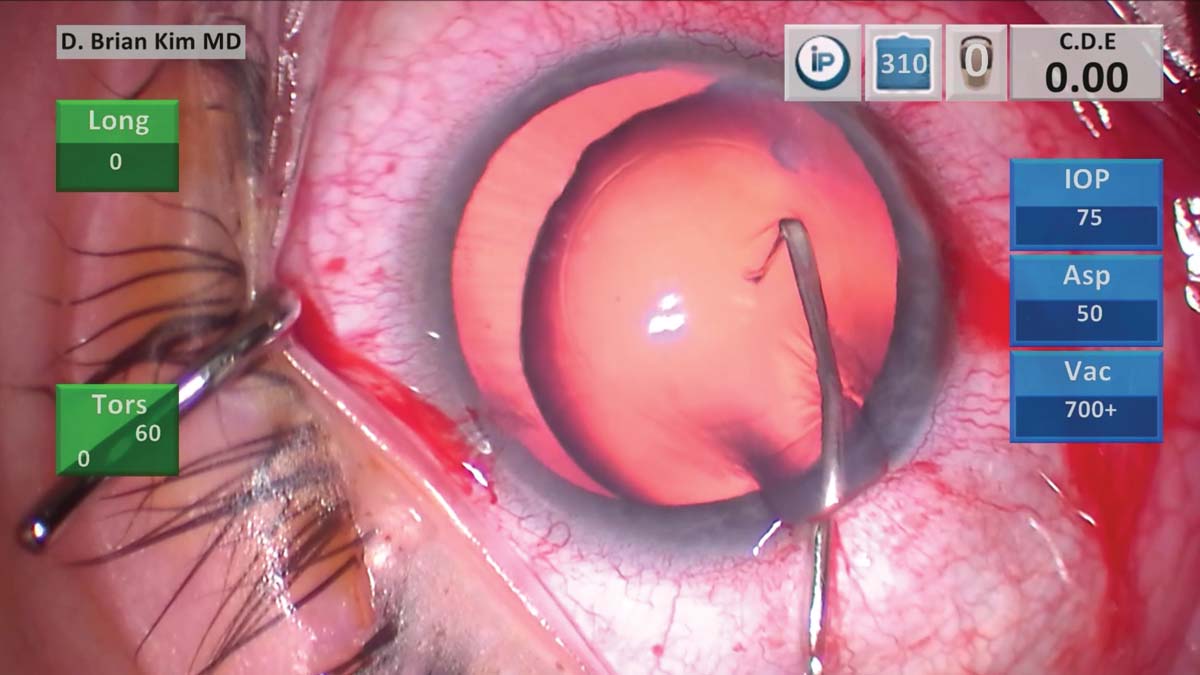
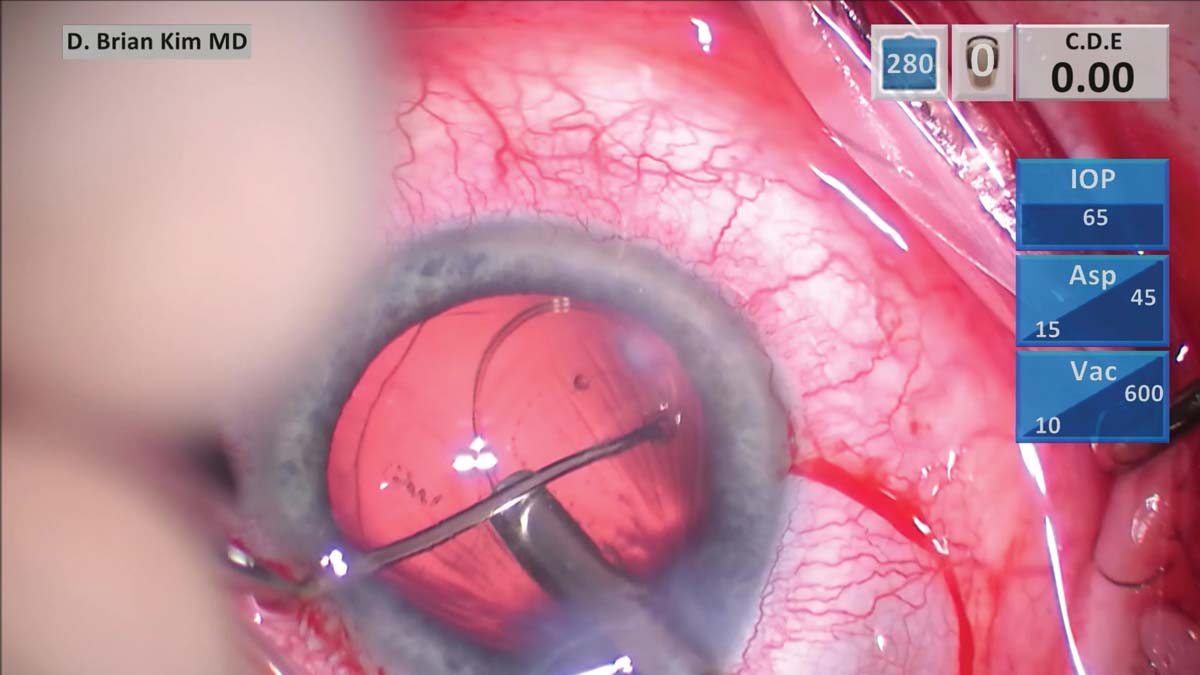
4. The Kim right angle hydrodissection cannula (Katena) is placed into the capsular fornix with the tip pointed downward, and a consistent and easy flowing dissection wave occurs. The lens is then massaged, and the capsular bag is decompressed to reduce the risk of capsular block.
5. The same cannula is used to simultaneously sweep underneath the anterior capsulorhexis edge while pulsing streams of balanced salt solution to loosen the lens in a controlled manner on both sides. The lens is then emulsified.
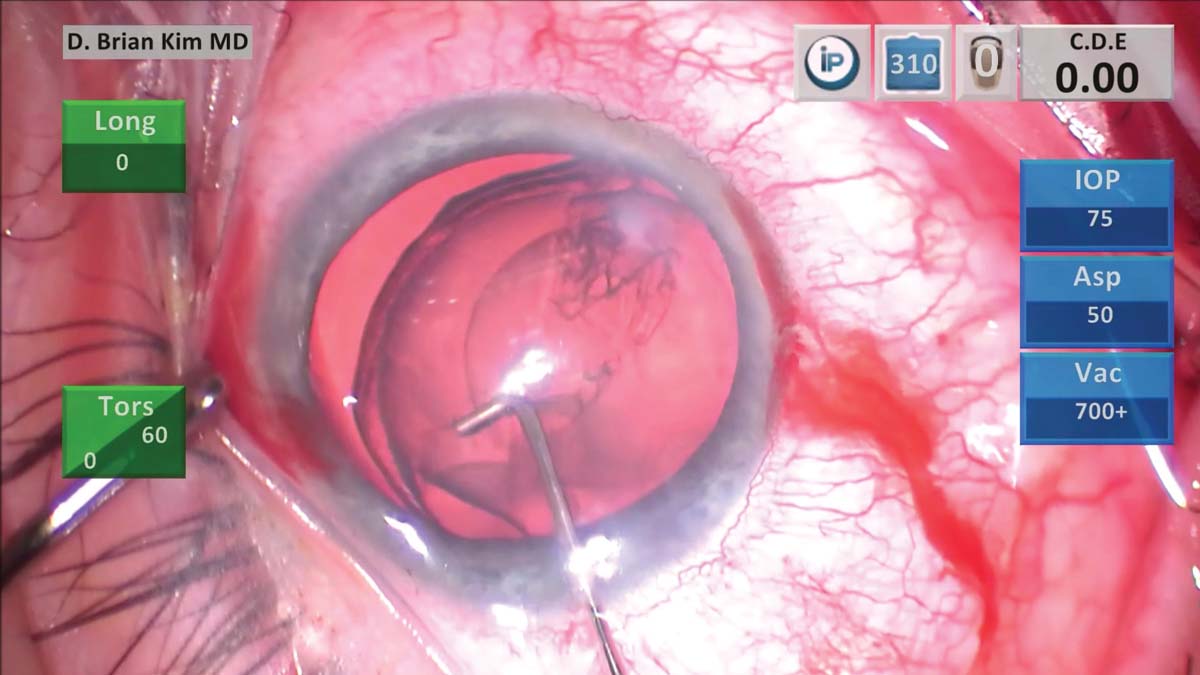
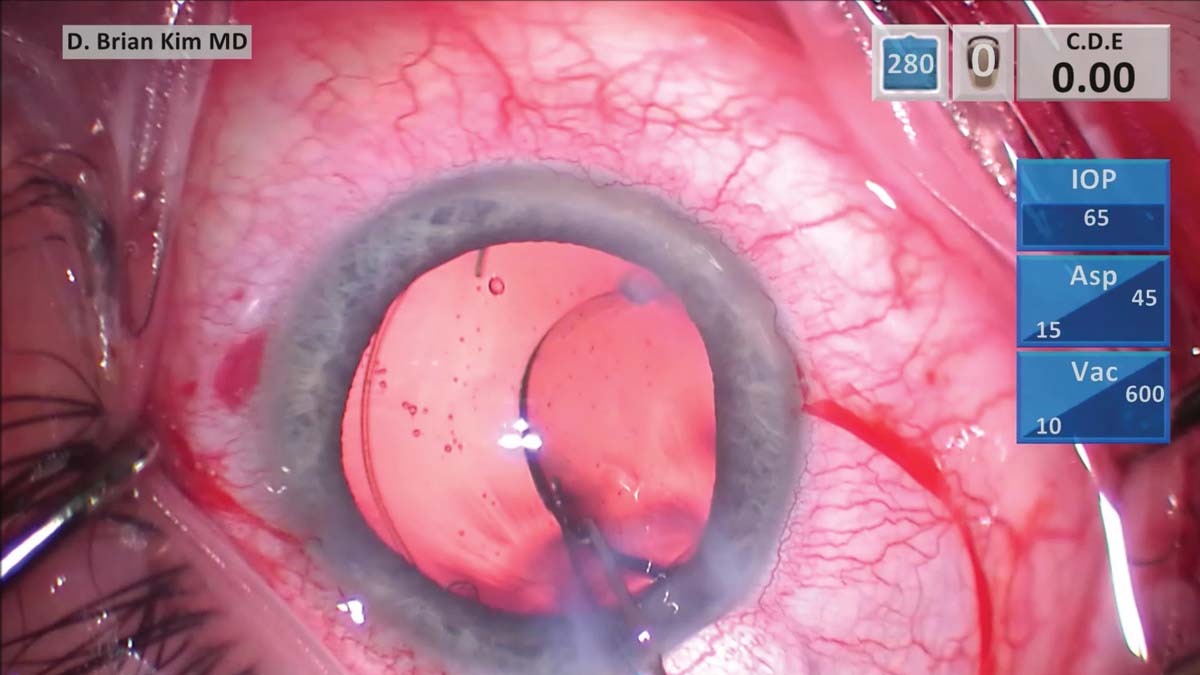
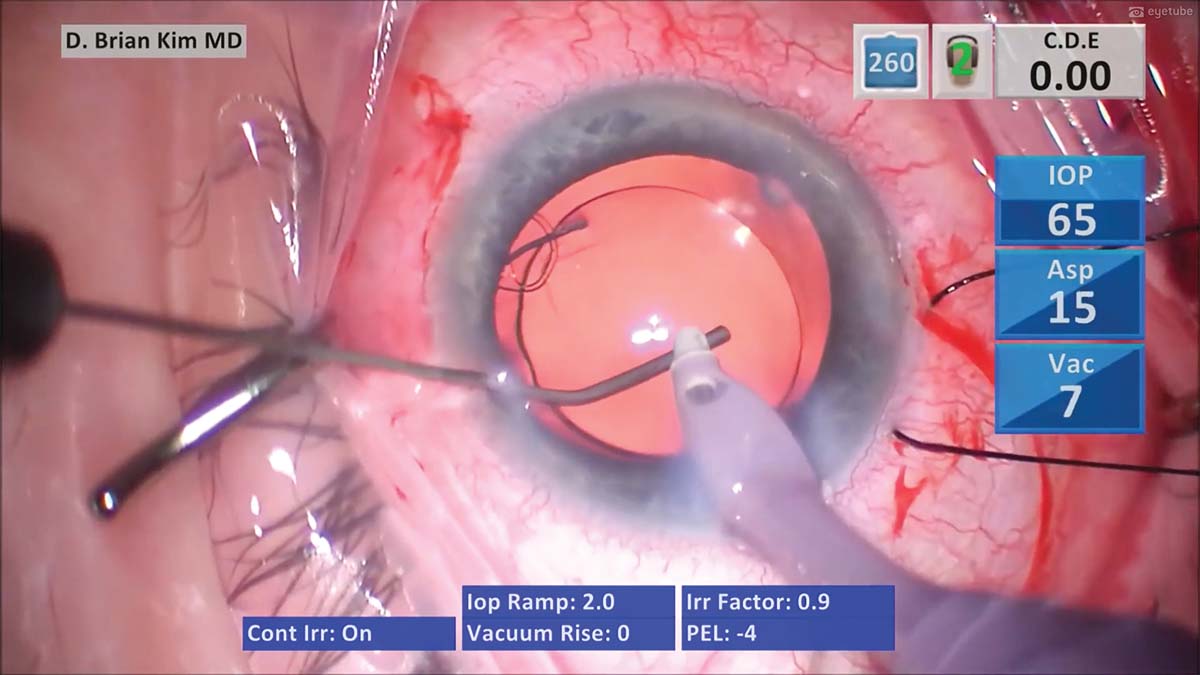
6. The phaco handpiece is withdrawn, and a cannula is used to inject balanced salt solution through a paracentesis incision in order to maintain IOP and minimize potential prolapse of vitreous into the anterior chamber.
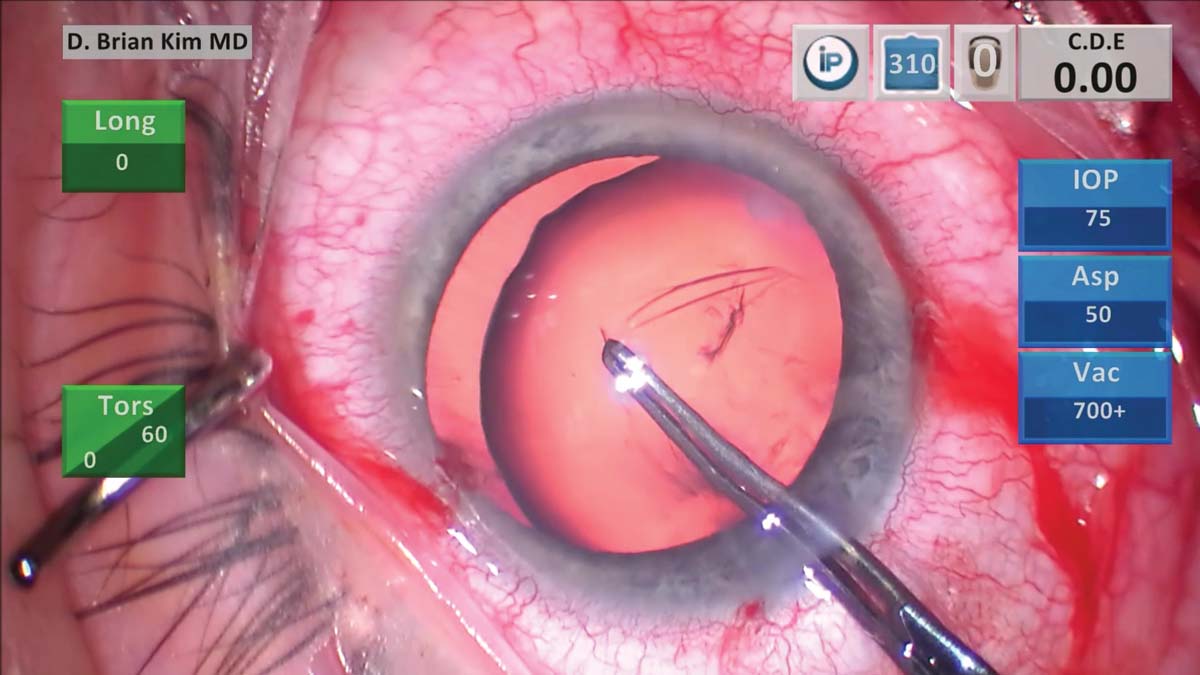
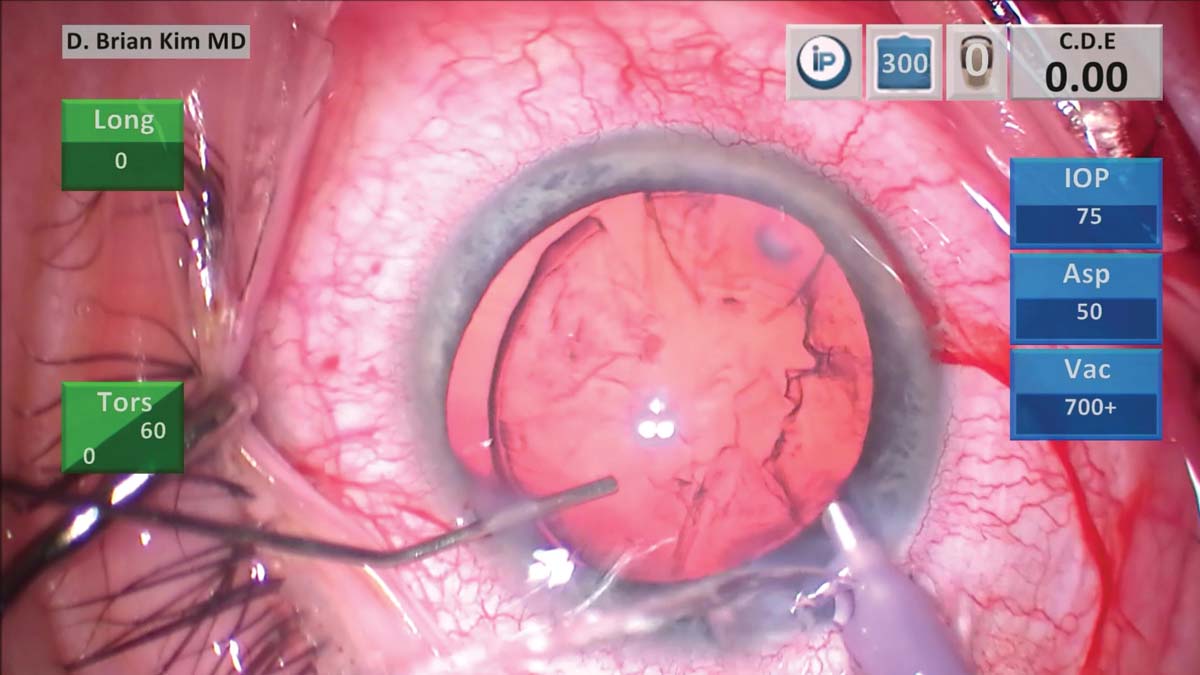
7. Pulling cortex toward the center causes more focal stress on the zonules. The cortical remnants therefore are teased from the capsule using a gentle tangential sweeping motion from side-to-side to reduce zonular stress. An OVD is injected to prevent vitreous prolapse before the I/A handpiece is withdrawn.
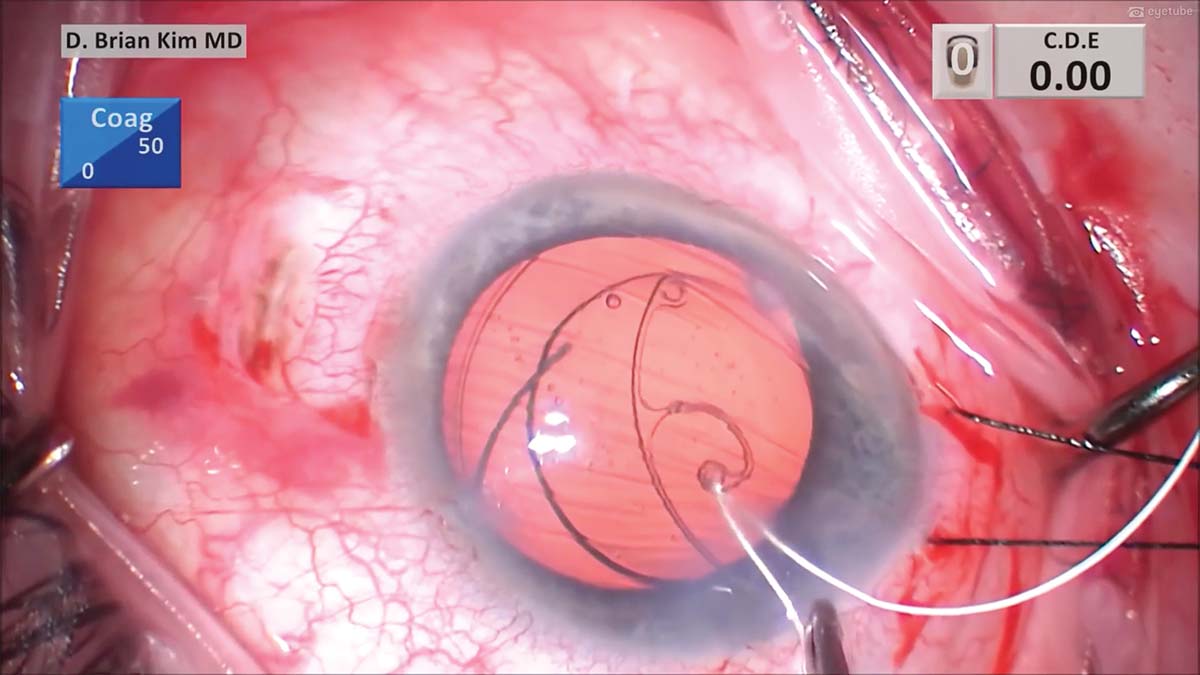
8. A CTR is loaded into the injector and inserted through the main incision. The leading eyelet of the CTR is grasped with the Sinskey hook through a paracentesis incision and, as the CTR is delivered, the Sinskey hook is used to pull the CTR toward the surgeon to minimize torsional traction on the zonules.
9. A three-piece IOL is placed within the capsular bag. A Maltzman hook is used in attempt to gently dial the haptics into the bag. The lens remains decentered.
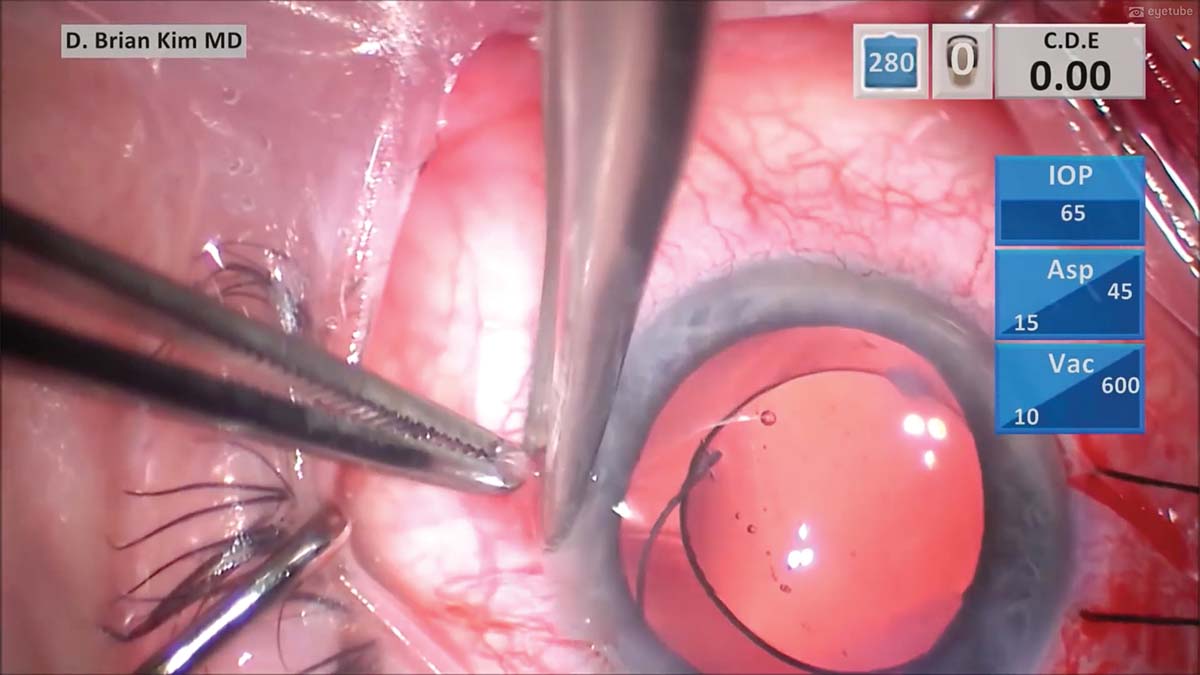
10. The zonules are inadequate on the left side. A traction suture is used to rotate the eye toward the right to better expose the left side of the sclera for suture fixation. A peritomy is then performed, and light cautery is applied to the area.
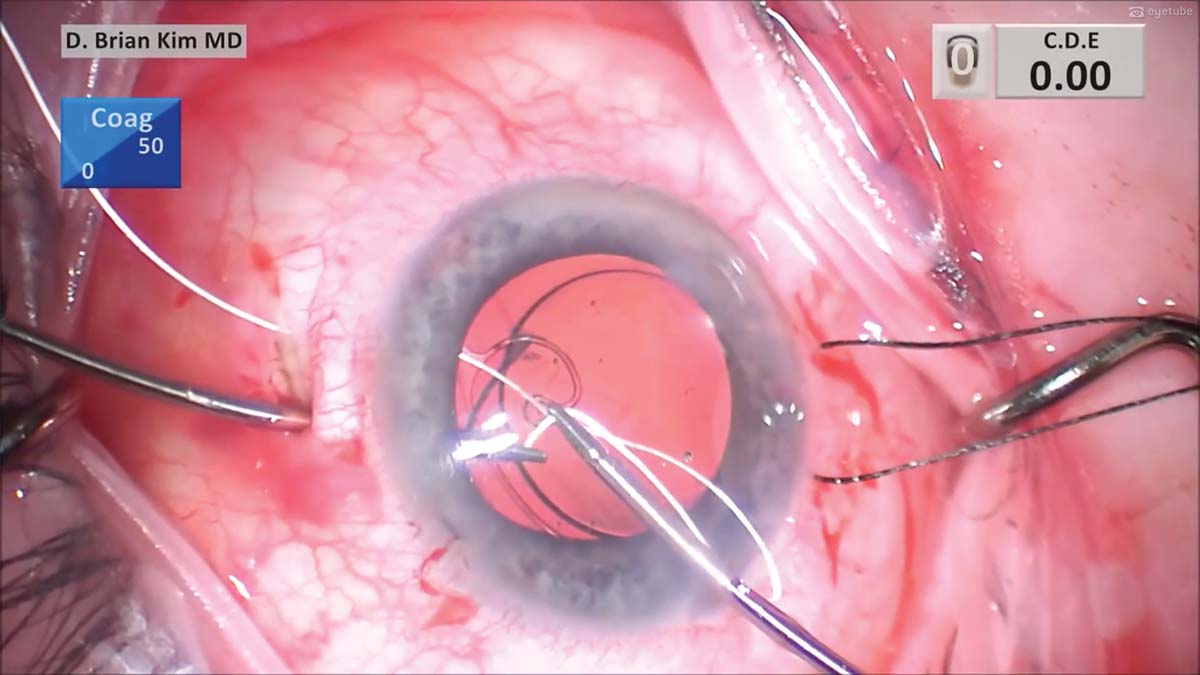
11. A diamond blade is used to create a partial-thickness scleral groove parallel to the limbus. A 7-0 (CV-8) Gore-Tex suture needle is threaded through the eyelet of a CTS and carefully placed through the main incision with microforceps.

12. A micrograsper is placed through a contralateral paracentesis incision to hold and tuck the CTS underneath the anterior capsule edge and into the capsular bag. A micrograsper is then placed straight down through the sclerotomy before turning toward the center to avoid hitting the ciliary body. A second micrograsper is placed through the main incision and, with a handshake technique, one suture end is passed to the forceps within the sclerotomy to externalize the suture end.
13. The handshake technique is performed with the other end of the suture. It is passed from the main incision to the other sclerotomy, and the suture end is externalized.

14. A single-throw slipknot allows the suture tension to be adjusted. After the appropriate tension is determined, a few more throws are passed and cinched tightly to lock the suture. The knot is buried through the sclerotomy, and the sclerotomies are closed with 8-0 polyglactin (Vicryl, Ethicon) sutures in an interrupted fashion on each side. The conjunctiva is then closed with the same 8-0 polyglactin sutures.
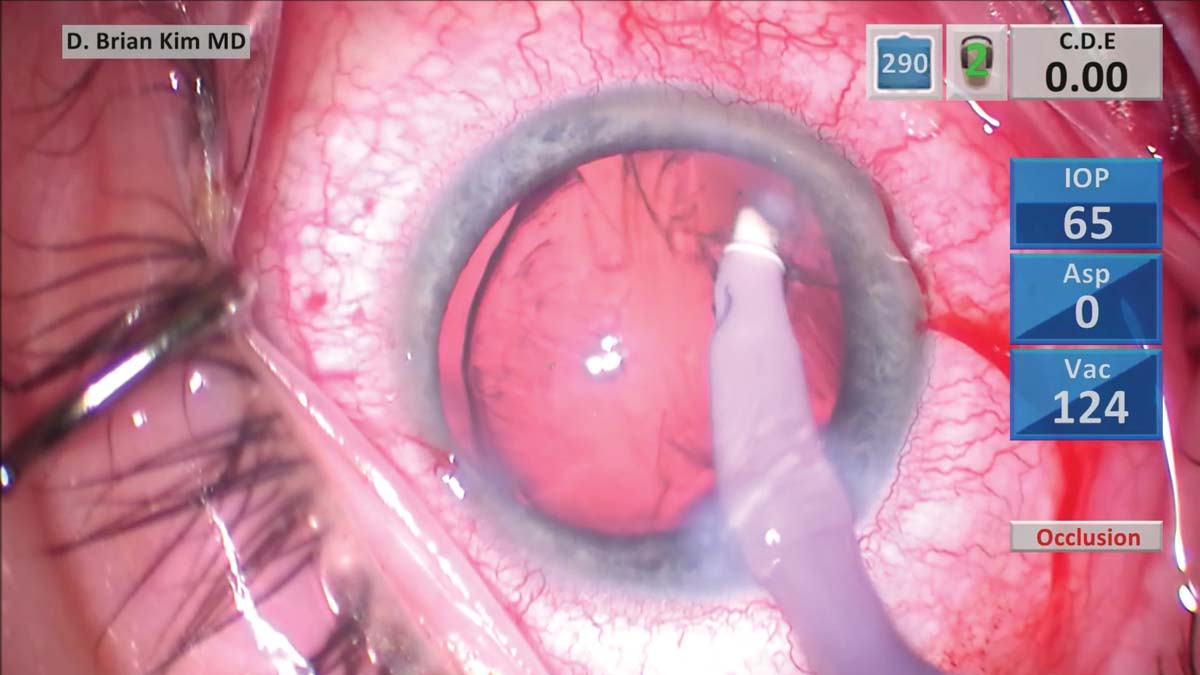
15. Irrigation and aspiration are performed a second time, and the OVD is removed. The I/A tip is used to tap the IOL to confirm the stability of the capsular bag. Finally, the wounds are hydrated.